If camera manuals were well written they would start with a few simple bits of information that would get you started on the right path, but this stuff is usually hidden deep in the manual and called something technical!
So, here's the "biggie" mistake you may be making with your point and shoot compact camera. When you just point your camera at your subject and press the shutter, the camera always focuses in the middle of the frame and that's what will be in focus. 8 times out of 10 that may well be absolutely fine. But what if you are photographing two people and there's a gap between them? Your camera will focus in between the people, making the background in focus and the people blurred. Go on, be honest, you've done this before haven't you!
Did you know that you can focus on one of the people, press the shutter halfway down until the green light comes on and the camera beeps, telling you that it has focused, then keeping the shutter button pressed halfway, move the camera to frame both people and then fully press the shutter down to take the picture. If you practise this a few times, it's really easy and then eventually becomes second nature.
And once you've got the hang of it, you can start to put people, objects etc to one side of your picture and not in the middle. Radical! An example of this might be if you're photographing someone with a lovely landscape behind them. Try putting the person to one side. This may also have the lovely effect of keeping the person in focus whilst the landscape is softly out of focus. In the example below it is our lovely Daisy sulking as she watches people playing on the beach below (no dogs allowed), with St Michael's Mount in the background.
This technique is called FOCUS LOCK - sounds scary doesn't it? But it's so simple and so important!Look it up in your manual now that you know what it is.You can then start to get creative and take pictures of all sorts of things with the point of focus wherever you want it to be. And practise it - after all you can just delete any that don't work.
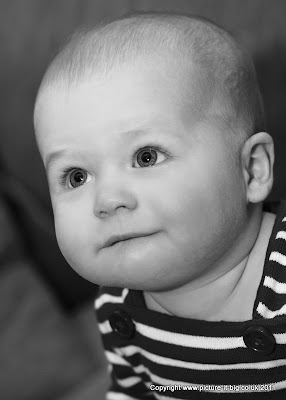
And if you're taking close up pictures of people's faces ALWAYS makes sure you focus on the eyes. If the eyes aren't in focus your picture just won't work.

If you found this interesting and useful please let me know - tick a box below the post and write a comment. If you want to know about my courses visit my web site http://www.picture-it-big.co.uk/Courses.html


Hi Jane...
ReplyDeleteI have just stumbled upon your website thru Twitter...
The above topic is amazingly useful & seems very straight forward!!
I am going to give it a try when taking my next pics for my handmade items in my Etsy shop...
Thank you...❤